Collect logs
Log collection simplifies the process of collecting logs for Citrix Workspace app. The logs help Citrix to troubleshoot, and, in cases of complicated issues, provide support.
You can collect logs using the GUI.
- Open Citrix Workspace app.
-
Click the account icon in the top‑right corner and click the Accounts option.
Or,
Click the App indicator icon in the top‑right corner and click the Preferences option.
The Citrix Workspace app - Preferences screen appears.
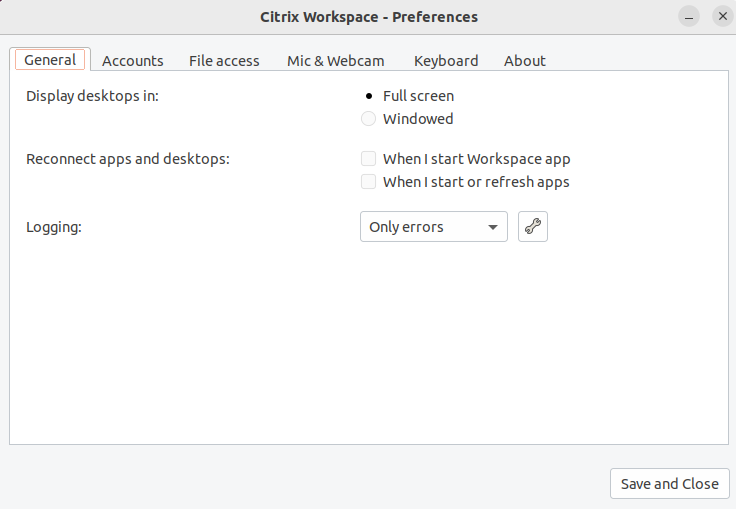
- In the Preferences window, click the General tab.
- Select one of the following log levels from the Logging drop-down list:
- Verbose: Detailed authentication and store communication logs are collected.
- Normal: Only store communication logs are collected.
- Only errors (Default): Only error logs are collected.
- Disabled: Minimum logs are collected for basic troubleshooting.
- Click Save and Close to collect and share logs as a .zip file.
Citrix Log Collection Utility
The Citrix Log Collection Utility helps you collect both new and existing logs. This utility specifically collects verbose logs and saves all logs in a tar.gz file.
You can open the Citrix Log Collection Utility by using any one of the following methods:
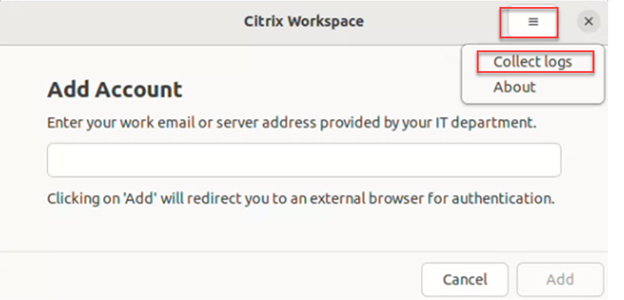
- By clicking Collect logs from the Add Account screen
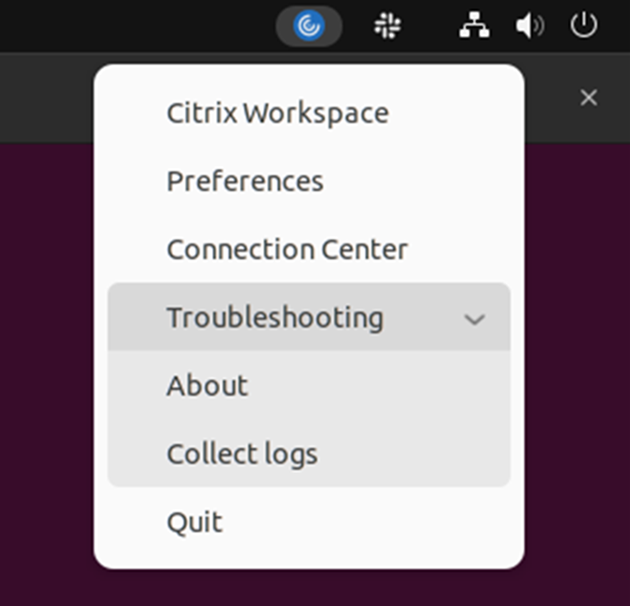
- By clicking Collect logs from the App indicator icon
- By running
./logmgrcommand from the commandline
- Navigate to the Add Account screen.
- Click the hamburger menu.
-
Select Collect logs.
Or,
From the App indicator icon, click Troubleshooting > Collect logs.
Or,
- At the command-line, navigate to the
/opt/Citrix/ICAClient/utilpath. -
Run the following command: ./logmgr
The Citrix Log Collection utility screen appears.
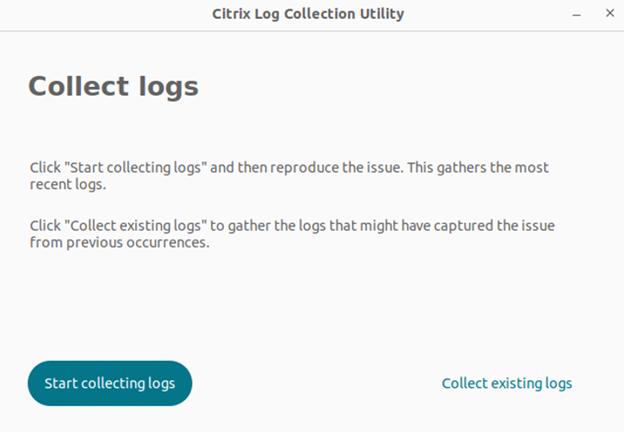
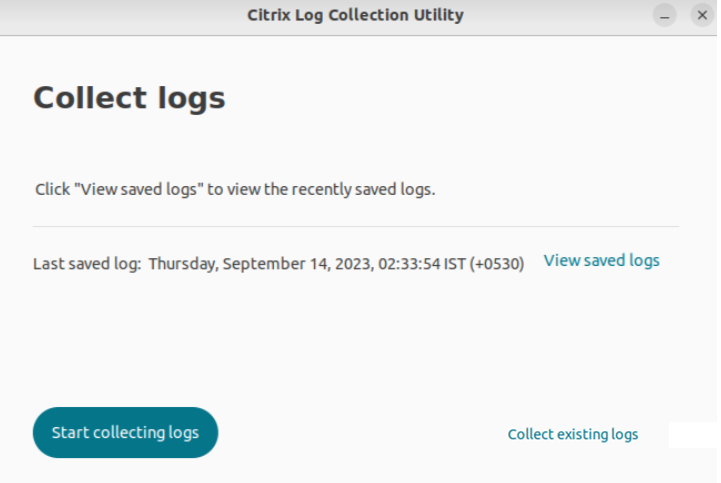
Collect fresh logs
-
Navigate to Citrix Log Collection Utility and click Start collecting logs. The following screen appears:
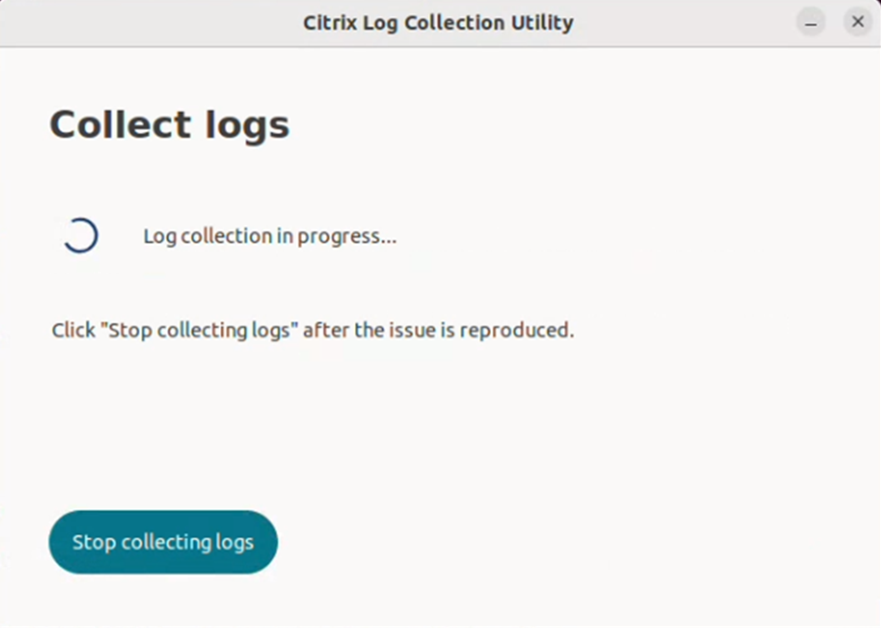
- Reproduce the issue scenario.
-
Click Stop collecting logs after the issue is reproduced. The following screen appears:

-
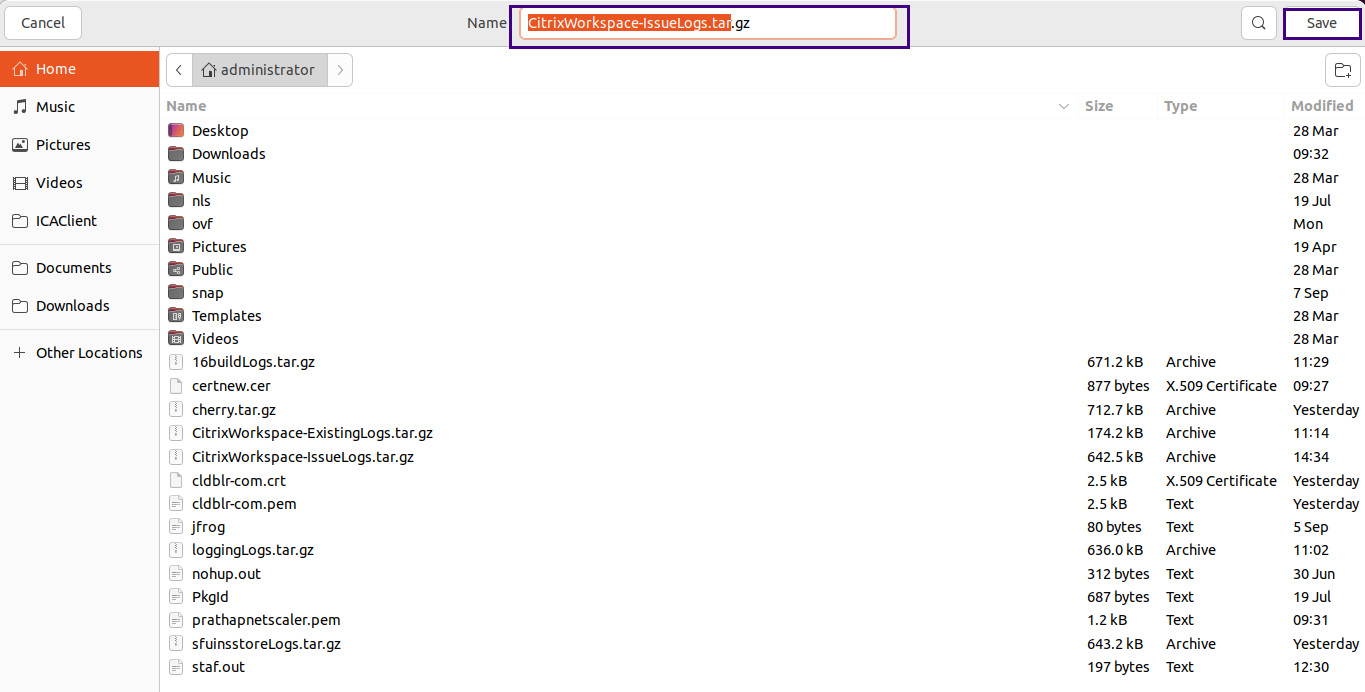
Click Save logs to save the log file. The file explorer window to save logs appear.
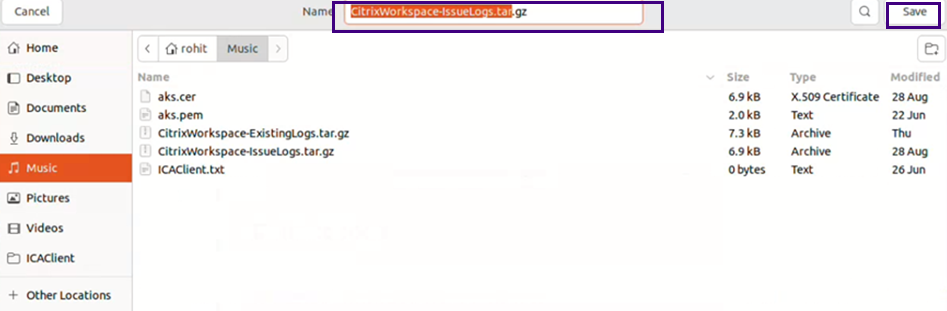
-
Click Save. The log file is saved. The following screen appears:
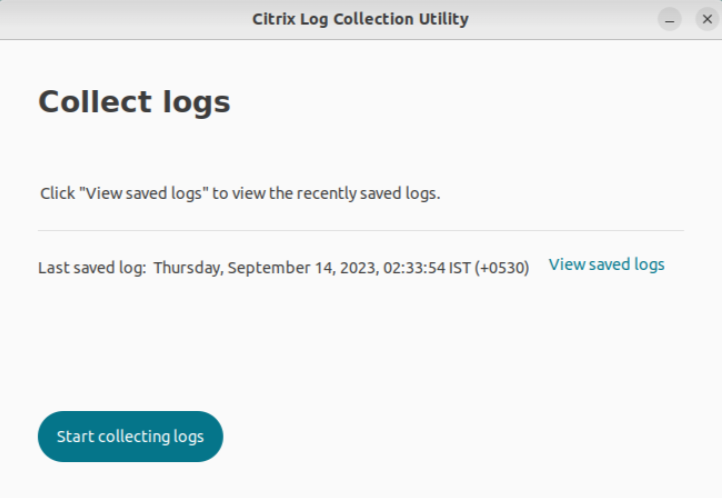
-
Click View saved logs to view the saved logs. The saved log files are displayed in the following screen:
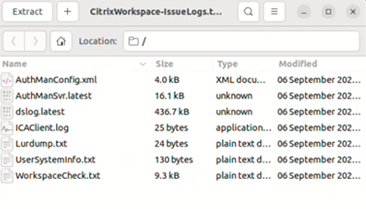
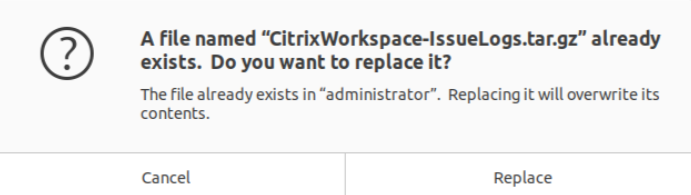
Note:
If you click Start collecting logs for the second time, you get a warning message to overwrite the existing logs:
Collect existing logs
-
Open the Citrix Log Collection Utility.

-
Click Collect existing logs to collect the logs that might have captured the issue from previous occurrences. The file explorer window is opened to save the existing logs.
-
Click Save to save the existing logs to a different folder, from where you can access the log files later. The following screen appears:
-
Click View saved logs to view the logs.