
How to use Citrix SecurAccess™ client for Linux
Enter the NetScaler Gateway URL on your browser to authenticate with the Citrix SecurAccess client. Once the authentication is successful, the browser prompts you to launch the Citrix SecurAccess client.
-
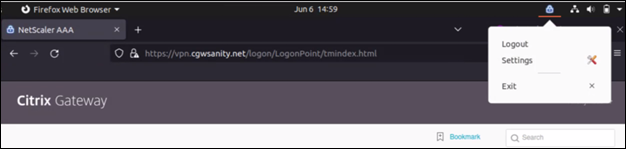
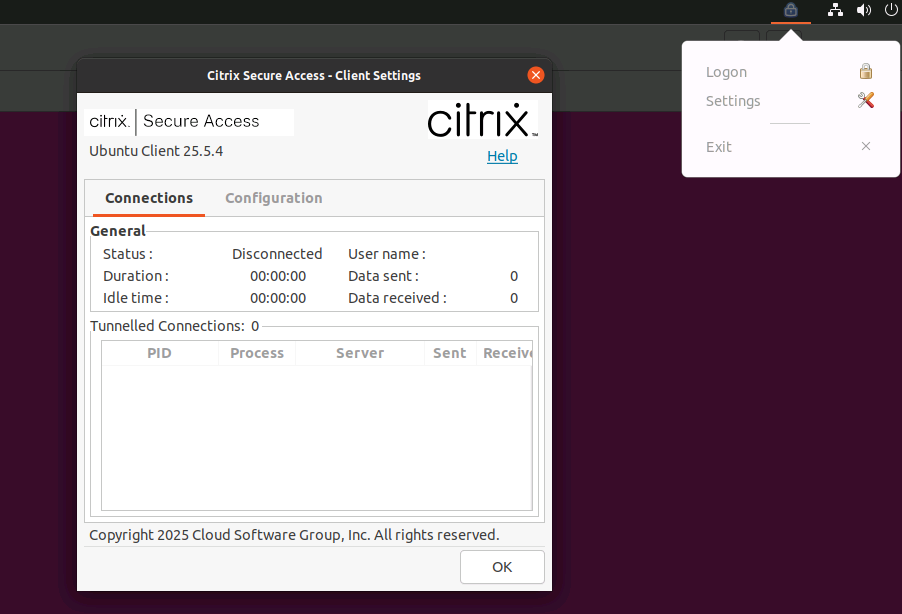
Select the Citrix SecurAccess client icon on the taskbar and click Settings.
-
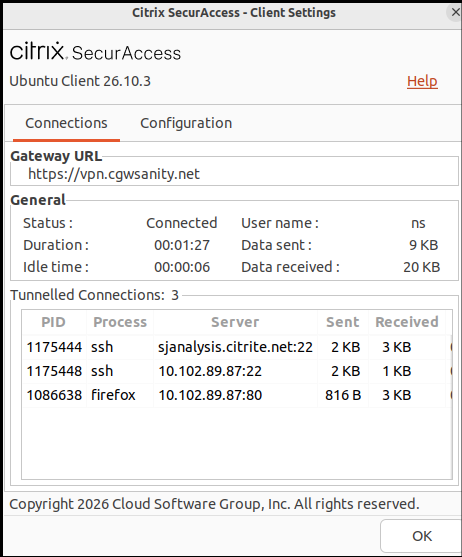
The Connections tab displays details such as connection status, user information, tunneled connections, and data usage.
-
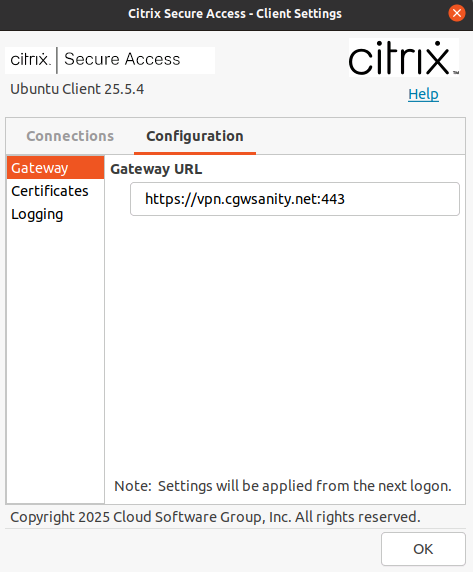
The Configuration tab displays the NetScaler Gateway information, an option to upload a client certificate, and logging options.
-
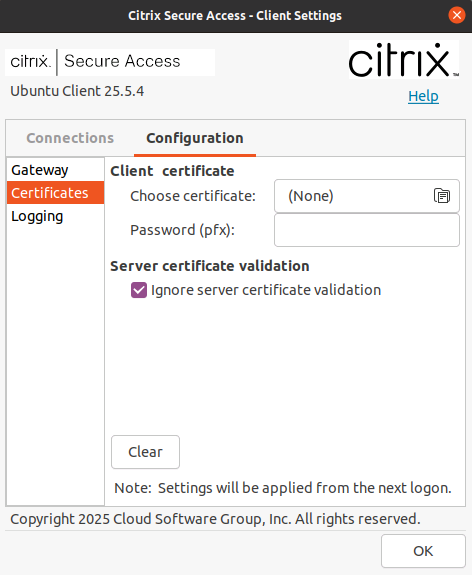
Certificates: Navigate to this section to configure a client certificate. This step is required only if your administrator has provided a client certificate to you to authenticate with NetScaler Gateway.
-
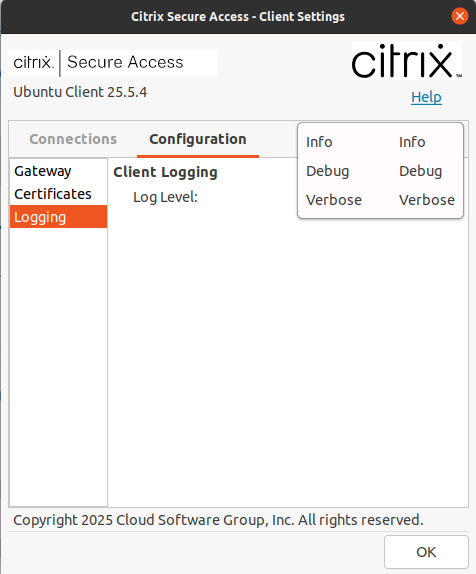
Logging: Navigate to this section to capture the debug logs. Capturing debug logs is a critical part of troubleshooting or reporting issues to Citrix Support.
-
Alternatively, you can launch Citrix SecurAccess client and click Logon. If you are a first time user, you are prompted to provide either the NetScaler Gateway URL or your workspace URL.
Send logs
The log files that you send to your administrator are of the format
nsgcepa.txt, nsepa.txt, nssslvpn.txt, and epalibv2.log. These files are in the ~/.citrix/ directory. They capture the following details:
-
Info: Prints the basic and error logs.
-
Debug: Prints all the logs. We recommend that you select this option to collect the logs and share with your administrator.
-
Verbose: Prints the verbose logs including tunnel messages and configuration information.