How to use Citrix Secure Access client for Windows
First-time users must create a connection to NetScaler Gateway or Secure Private Access by adding the connection URL, if your administrator has not added the connection URL for your application. For subsequent uses, you can connect to an existing connection, add a connection, and edit existing connections as well. You can also view the logs and take appropriate actions accordingly.
Add a connection
Important:
After the connection is added, the Citrix Secure Access client prompts for authentication. The prompt depends on the authentication method configured in NetScaler Gateway or Secure Private Access. You might need to enter a password or a one-time password. Alternatively, you might be redirected to a SAML authentication URL.
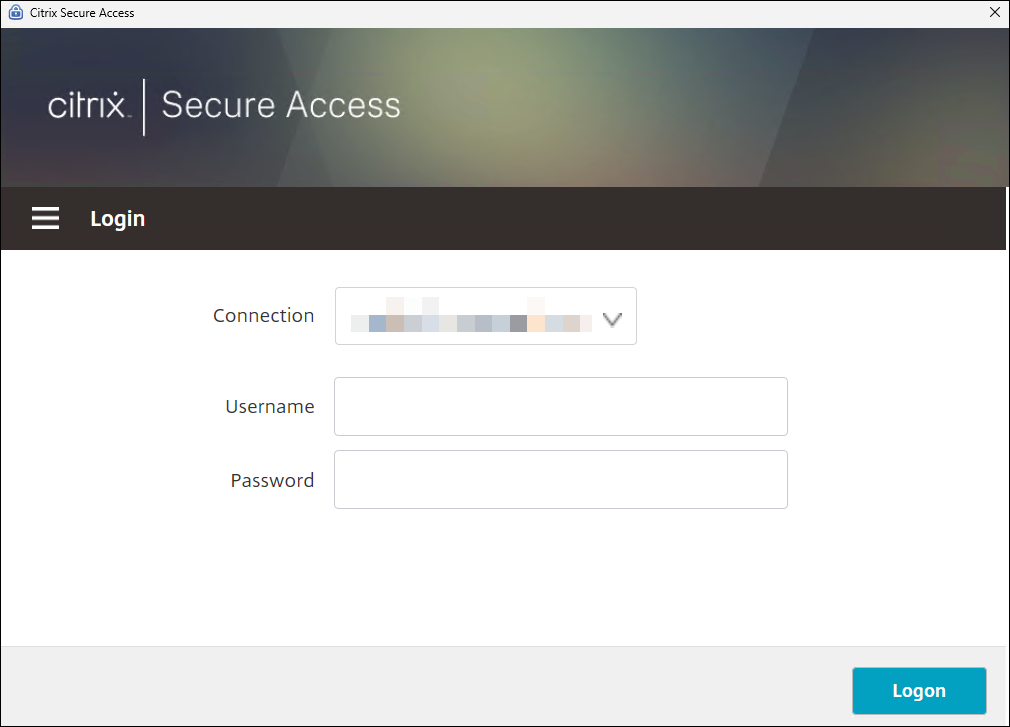
If your administrator has already added a connection to your application, select the connection from the drop-down list in the Home page, enter your user name and password (or one-time password), and click Logon.
If your administrator has not added the connection URL, you must add a connection using the following steps:
-
After you install the Citrix Secure Access client for Windows, open the application in your Windows machine.
-
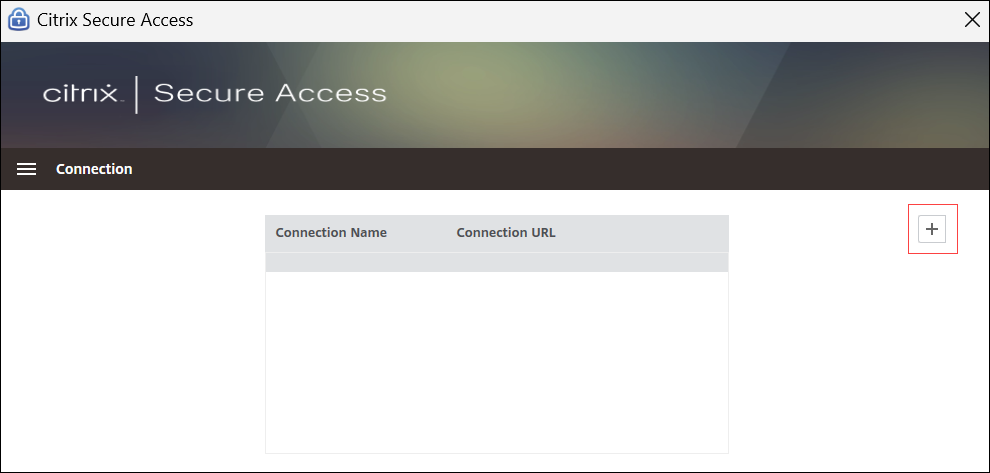
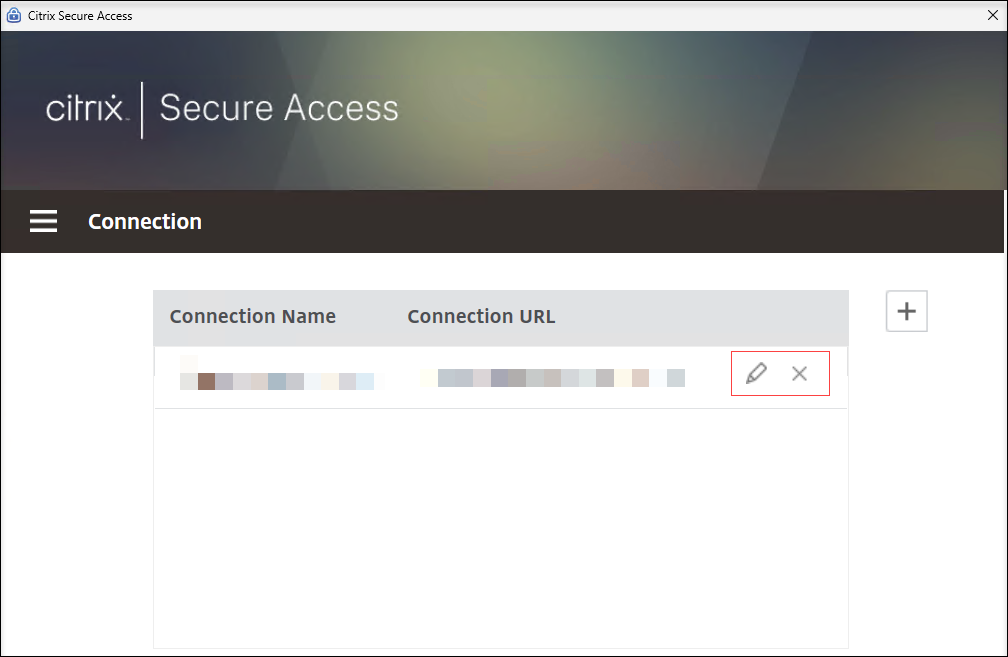
Navigate to the Connection tab and click + to add a connection.
-
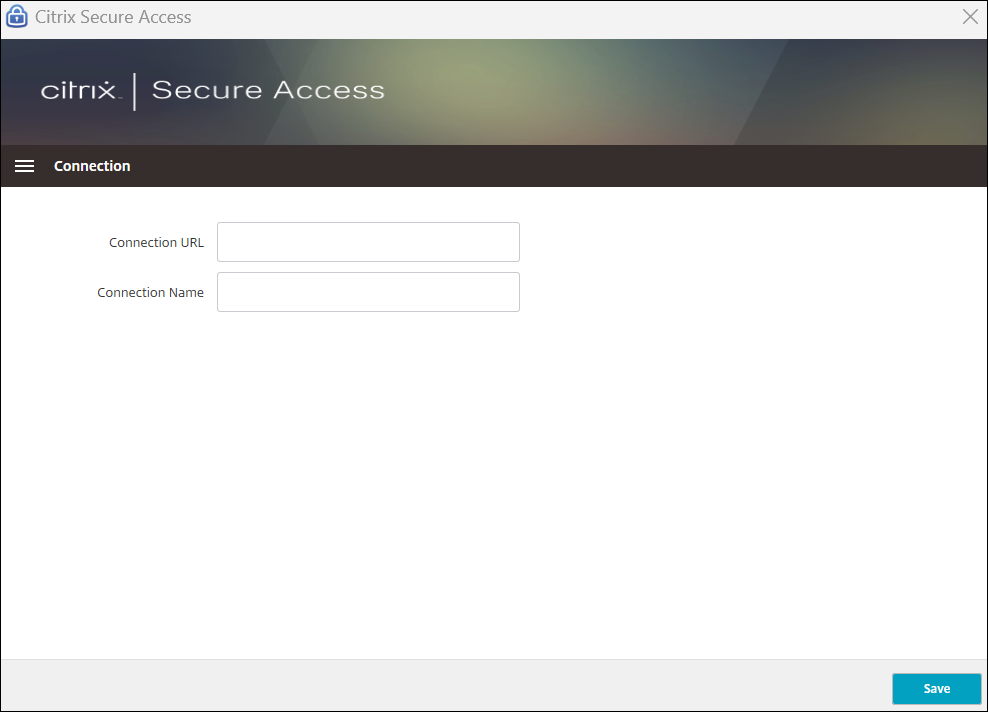
Enter the URL provided by your administrator in the Connection URL textbox, provide a name for the connection, and click Save.
-
Once the connection is added, navigate to the Home tab, select the connection from the drop-down list, enter your user name and password (or one-time password), and click Logon.

When the authentication is successful, you can access the intranet applications.
Note:
After the initial login, you cannot manually connect or disconnect the VPN if the administrator has enabled the Always On or Always On before Windows Logon profile on NetScaler Gateway or Secure Private Access.
Modify or delete an existing connection
On the Connection tab, either click the edit icon or cancel icon to modify or delete the existing connection.
View secured applications
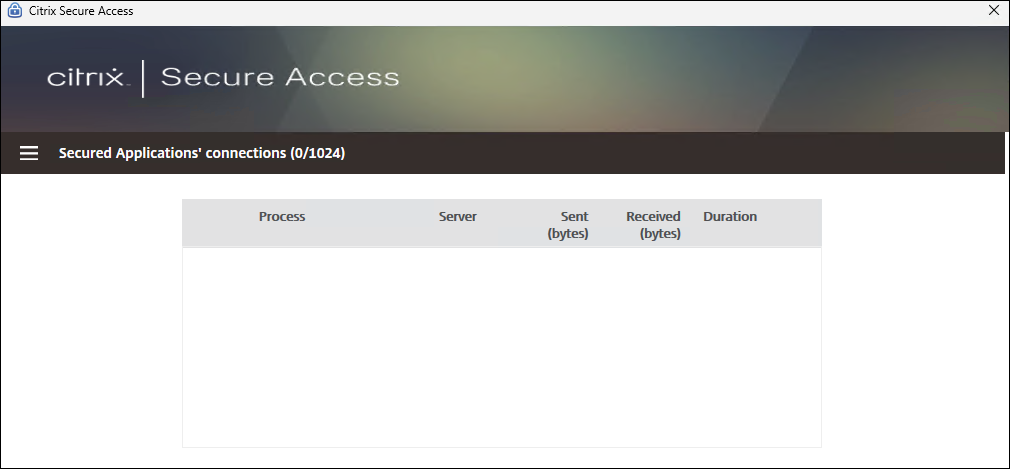
You can view the applications connected to the server, server IP, data sent and received, and duration of connection in the Secured Applications tab.
Configure logging
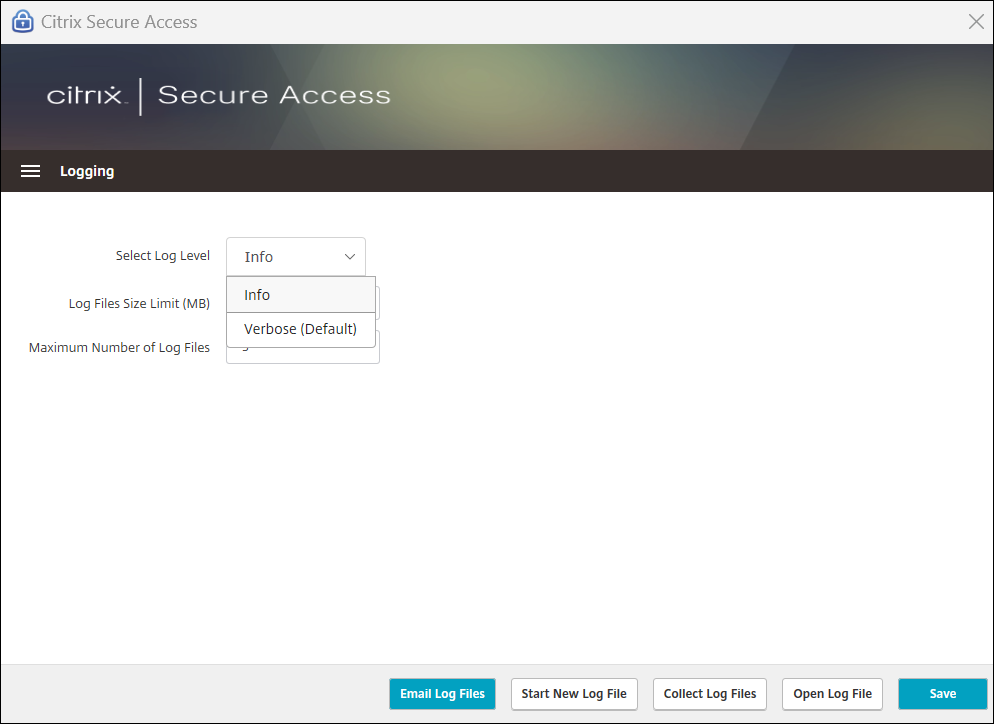
You can configure the log level, file size, and maximum number of log files in the Logging tab.
-
Select Log Level: The Citrix Secure Access client for Windows has two levels of logging:
-
Info: This level includes informational messages and events relevant to program execution. It also includes errors and exceptions.
-
Verbose: This level includes all log messages reported by Info level and other messages that might help in troubleshooting.
-
-
Log File Size Limit: Enter the file size of each log file. The maximum value is 600 MB.
-
Maximum Number of Log Files: Enter the number of files that you want to add for the log collection. The maximum value is 5.
-
Click Save to save the added logging configurations.
The Logging tab includes the following options:
-
Email Log Files: Sends the log files to your administrator in the format nssslvpn.txt.
-
Start New Log File: Creates a new log file, typically to start fresh logging for a new session or after a specific event for troubleshooting.
-
Collect Log Files: Creates a zip file with all log files from the application. This zip file is saved on your desktop.
-
Open Log File: Opens the latest csa_nssslvpn*.txt file.
