Merge fields with signature templates
Merge Fields give document senders the ability to pre-fill each copy of a template with custom text before the document is sent.
This article outlines the basic steps to merge fields when creating or editing a template. To create a merge field, use the Document Overlay tools when preparing a document.
-
From the Citrix RightSignature dashboard, select Templates in the left menu bar, then select Create Template.
-
Select Prepare Document.
-
Select Next: Place Fields to place a Text Field, Date Field or Checkbox to the desired location in the document.
-
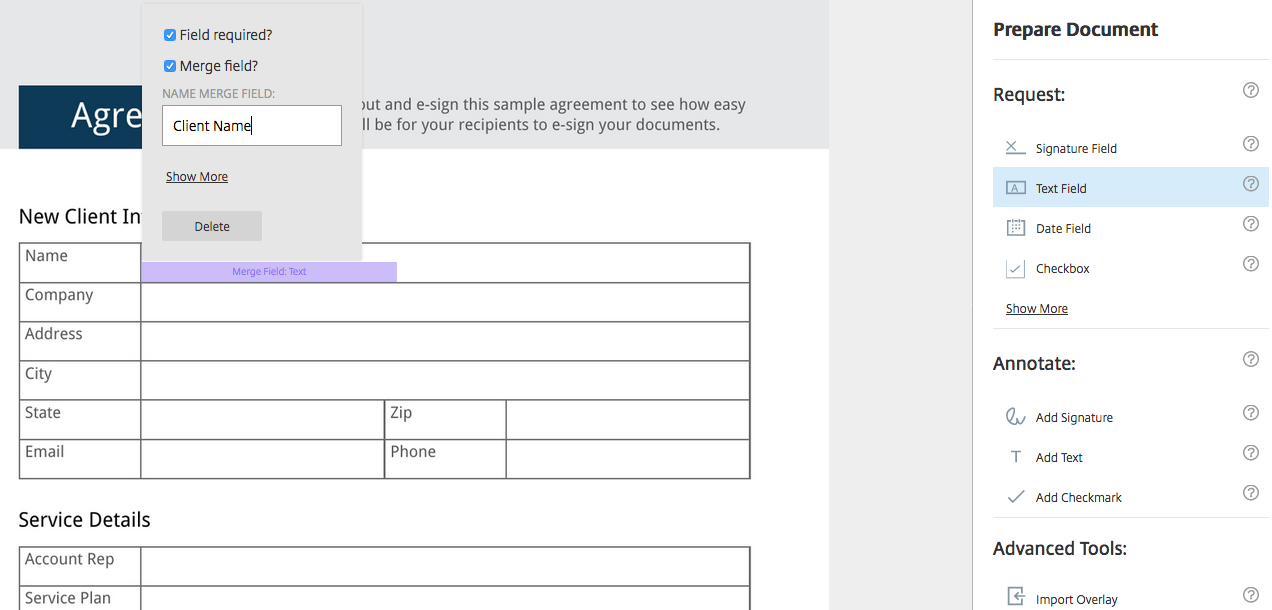
Once you place the field on the document, double-click on the object box.
-
Once prompted to name the merge field, type in a name for Text Field 1. This is the name of the field that the sender will be prompted to fill each time a copy of the Template is sent.
When preparing a copy of the Template to send, the sender can enter custom information into each Merge Field.
Note:
Once the document is sent, the merge data is locked and cannot be edited by other parties.