How to use Citrix Secure Access app from your macOS device
Install the Citrix Secure Access app from your App Store. First-time users must create a connection to NetScaler Gateway by adding the server. Existing users can connect to an existing connection or add a new connection, and edit existing connections as well. You can also view the logs and take appropriate actions accordingly.
First time user experience
After you install the Citrix Secure Access app and open the app for the first time, the following screen appears.
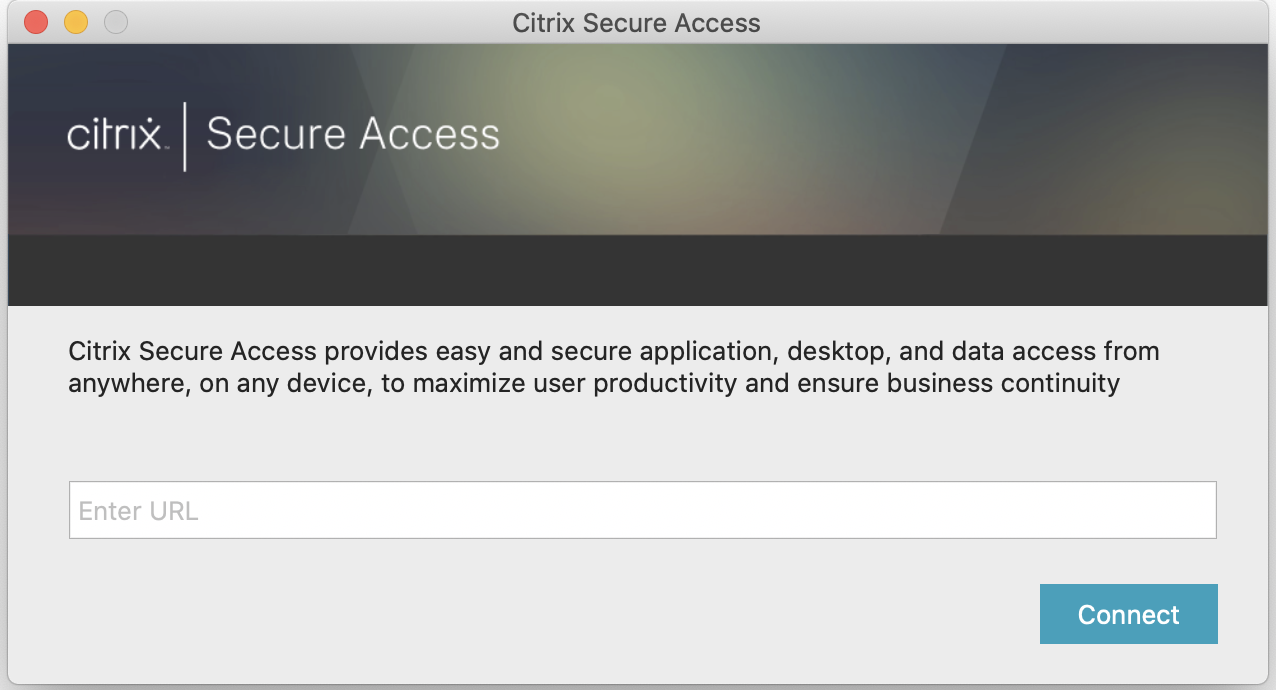
Enter the NetScaler Gateway base URL or the Citrix Workspace URL and click Connect.
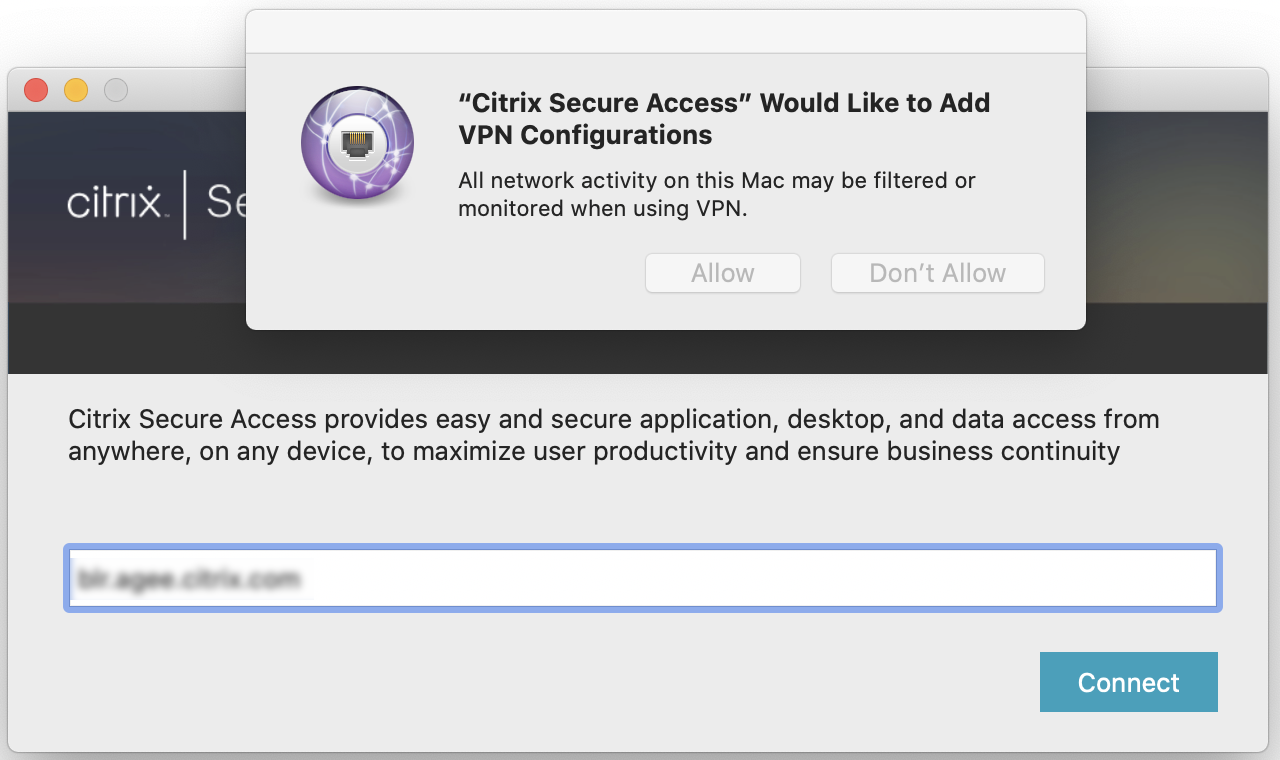
A popup message appears. Click Allow to enable adding a connection. This message appears only the first time. For subsequent new connections, this message does not appear.
Note: To log out from Citrix Secure Access, it is recommended that you first click Log Off in the app and then quit the app from the dock. Do not use the Quit option from the dock.
Connect to NetScaler Gateway
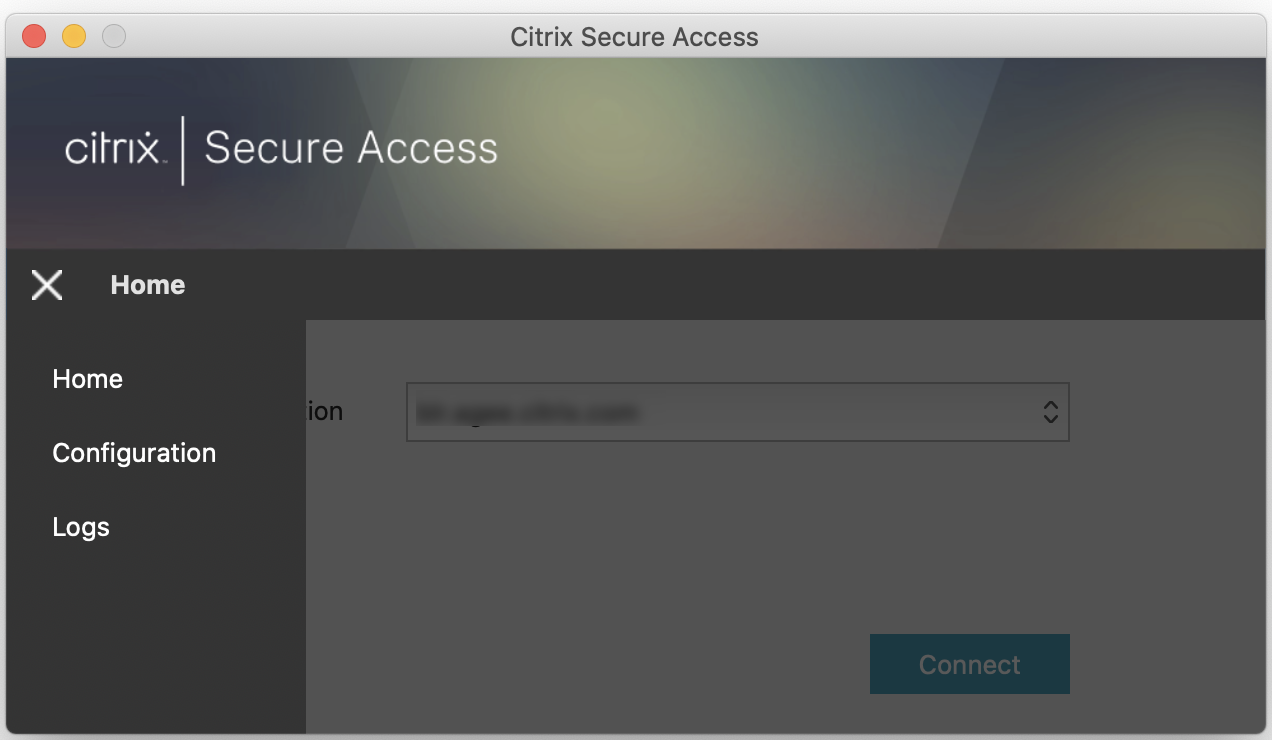
After adding the first connection, for subsequent connections, you can either connect to an existing NetScaler Gateway or the Citrix Workspace or add a connection.
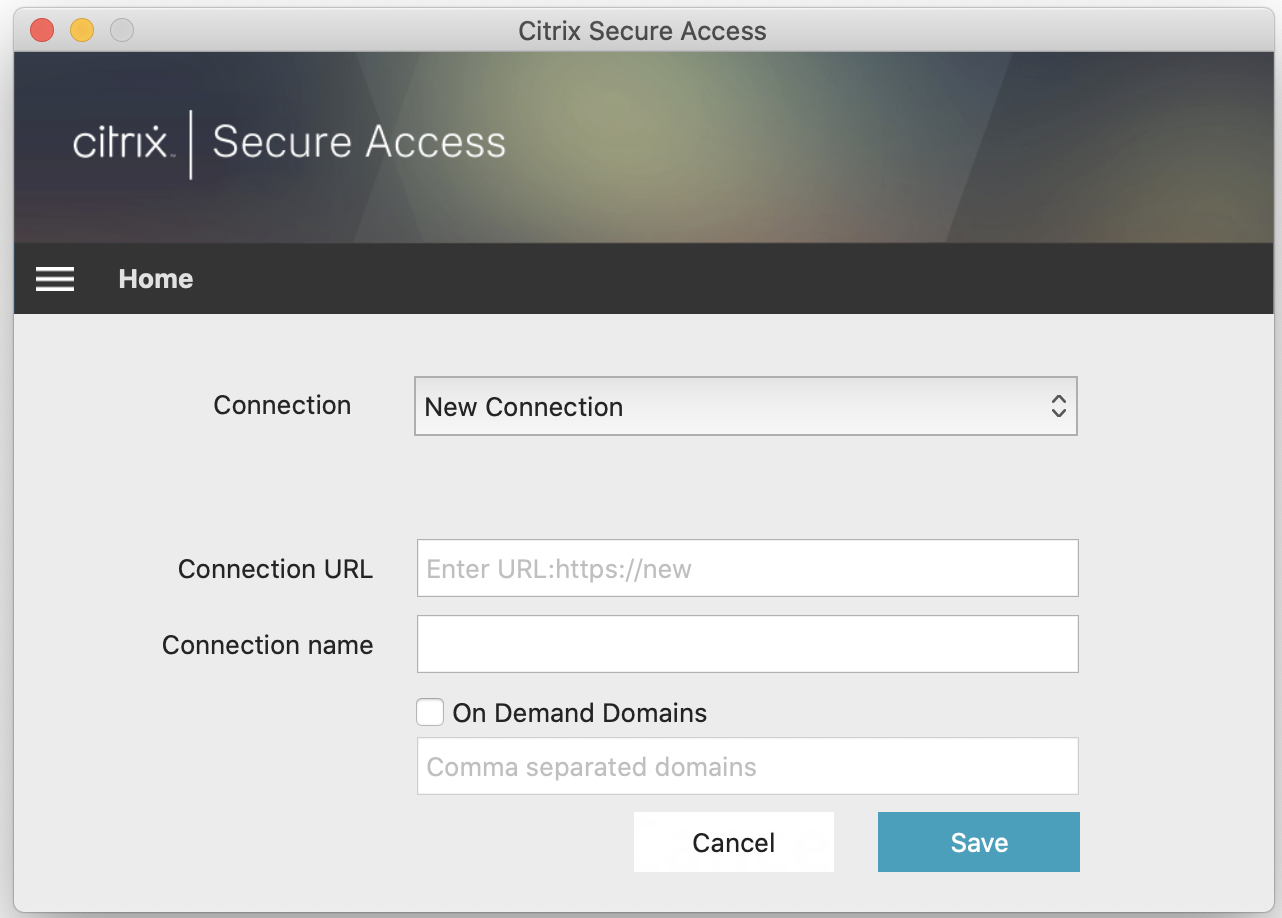
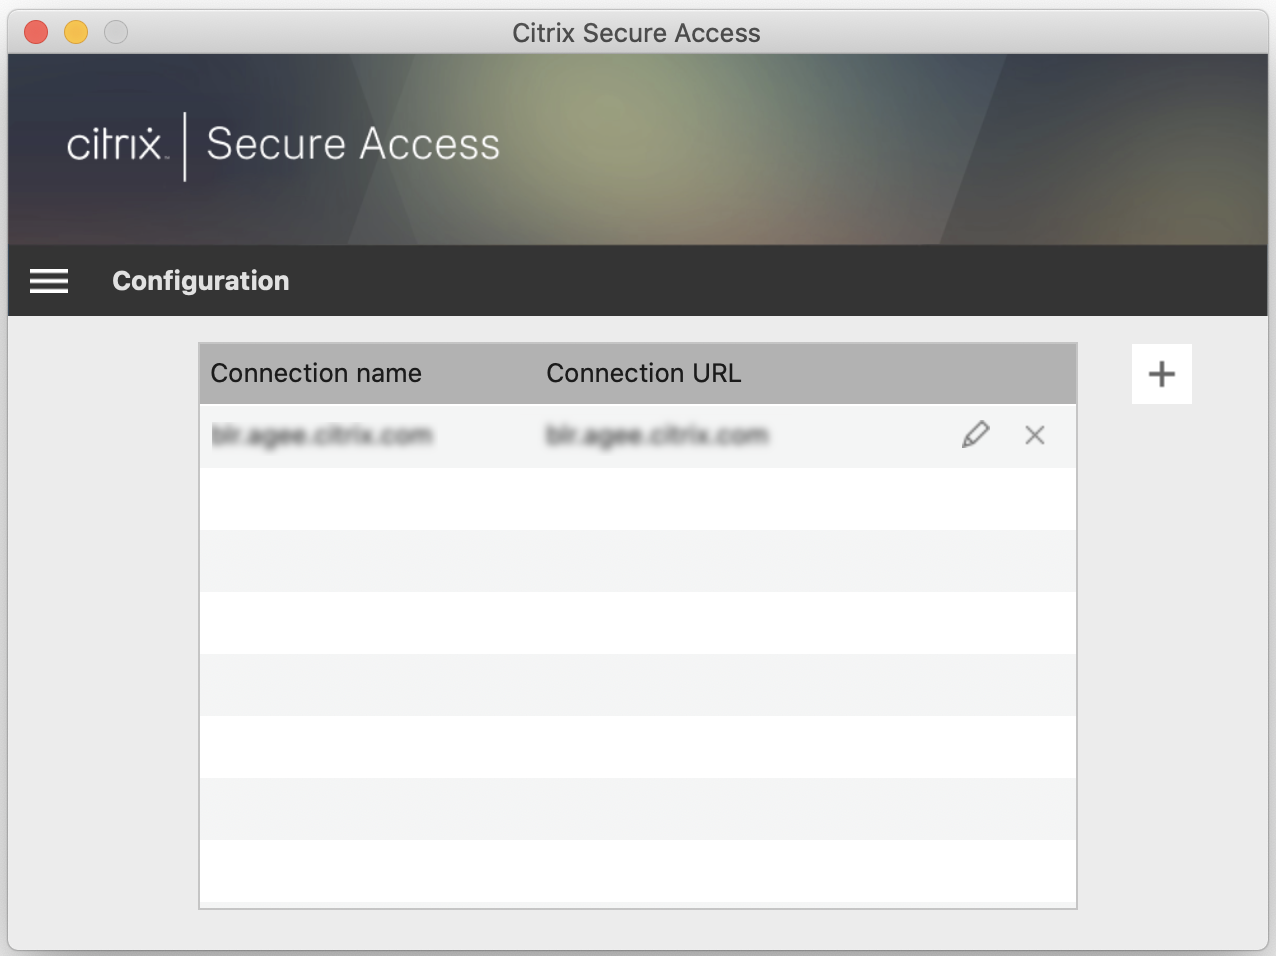
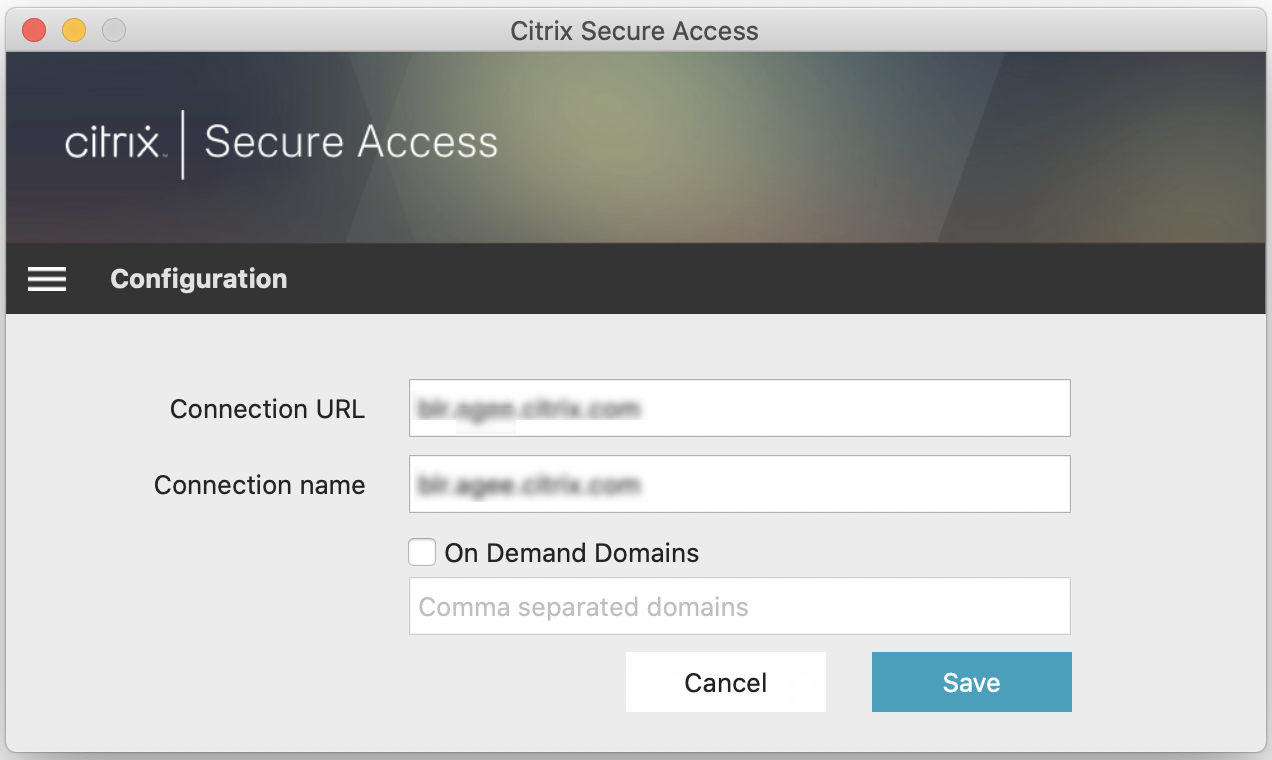
Add a connection
Enter the base URL (for example, https://gateway.mycompany.com) and the name for the VPN connection.
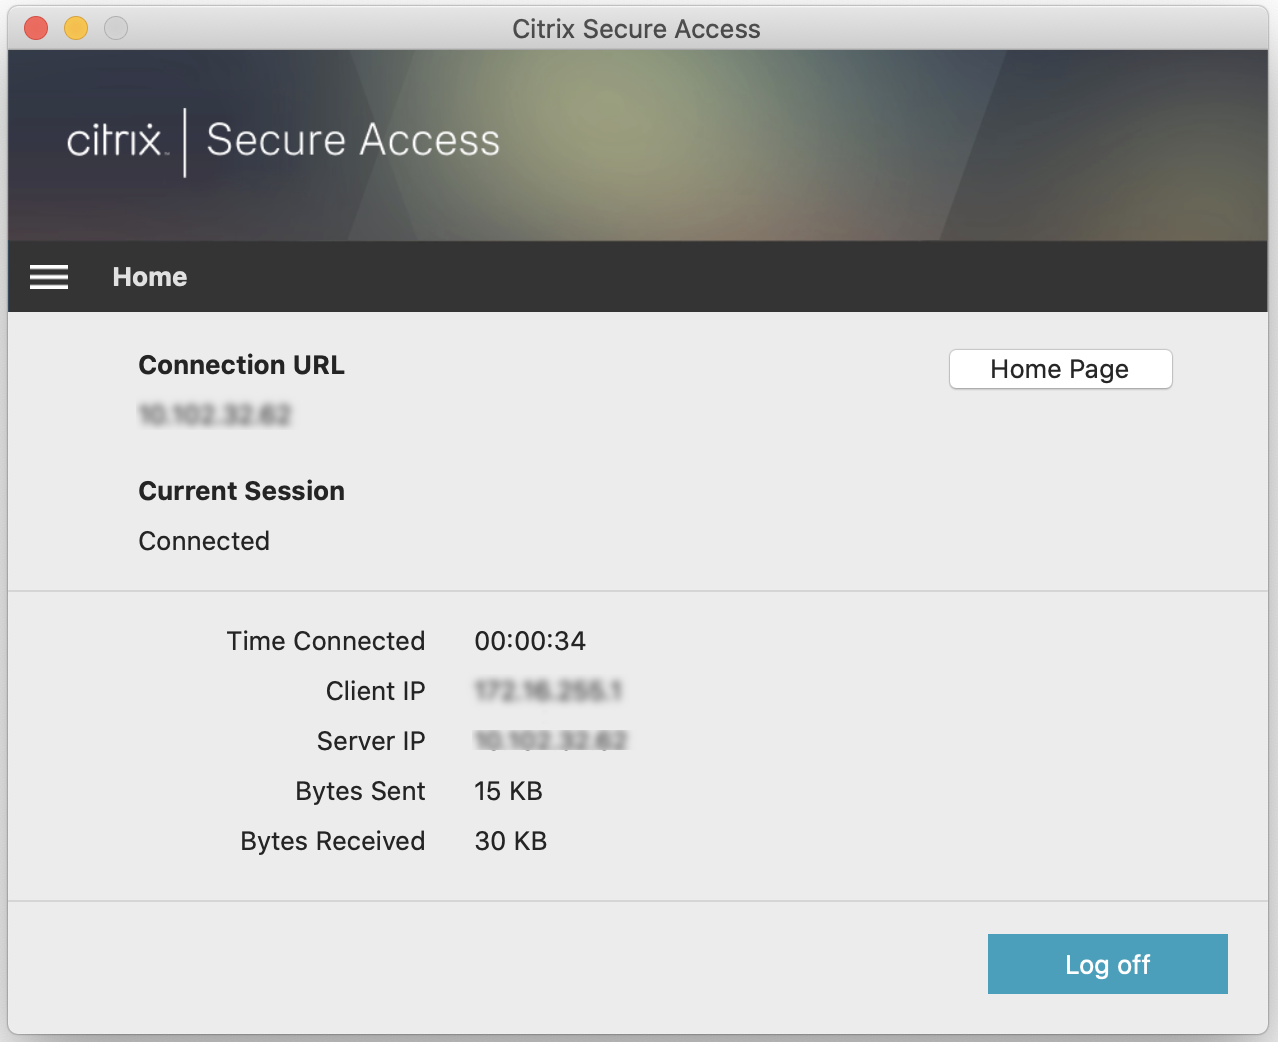
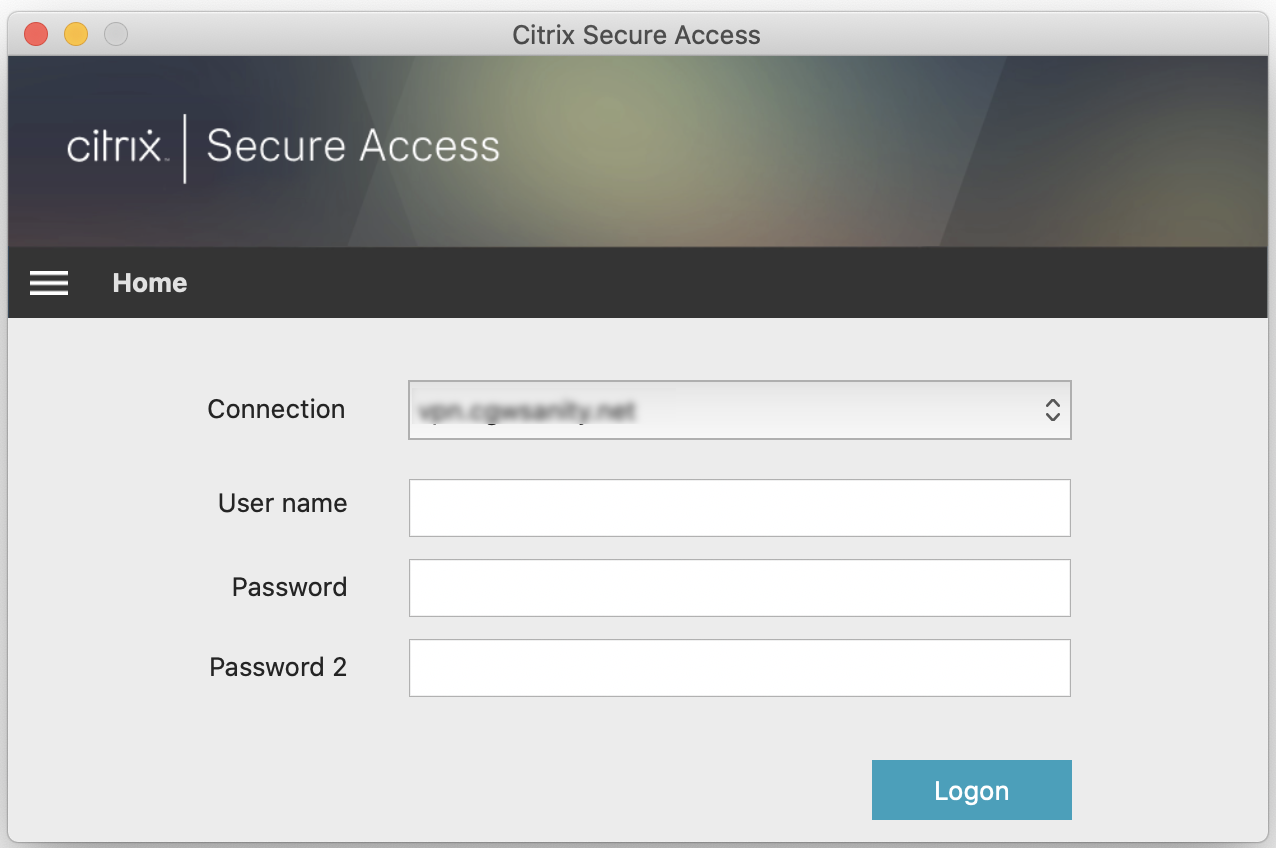
Connect to existing NetScaler Gateway
Select an existing connection and provide authentication credentials for your server and select Logon.
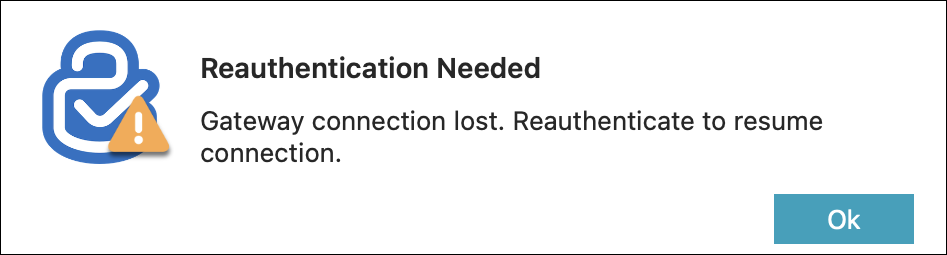
Reconnect to NetScaler Gateway after a VPN connection failure
Starting from release 23.09.1, Citrix Secure Access client for macOS prompts you to reauthenticate with NetScaler Gateway when a VPN connection is lost. You are notified on the Citrix Secure Access client UI indicating that the connection to NetScaler Gateway is lost and that you must reauthenticate to resume the connection.
Modify an existing connection
You can modify or delete an existing connection.
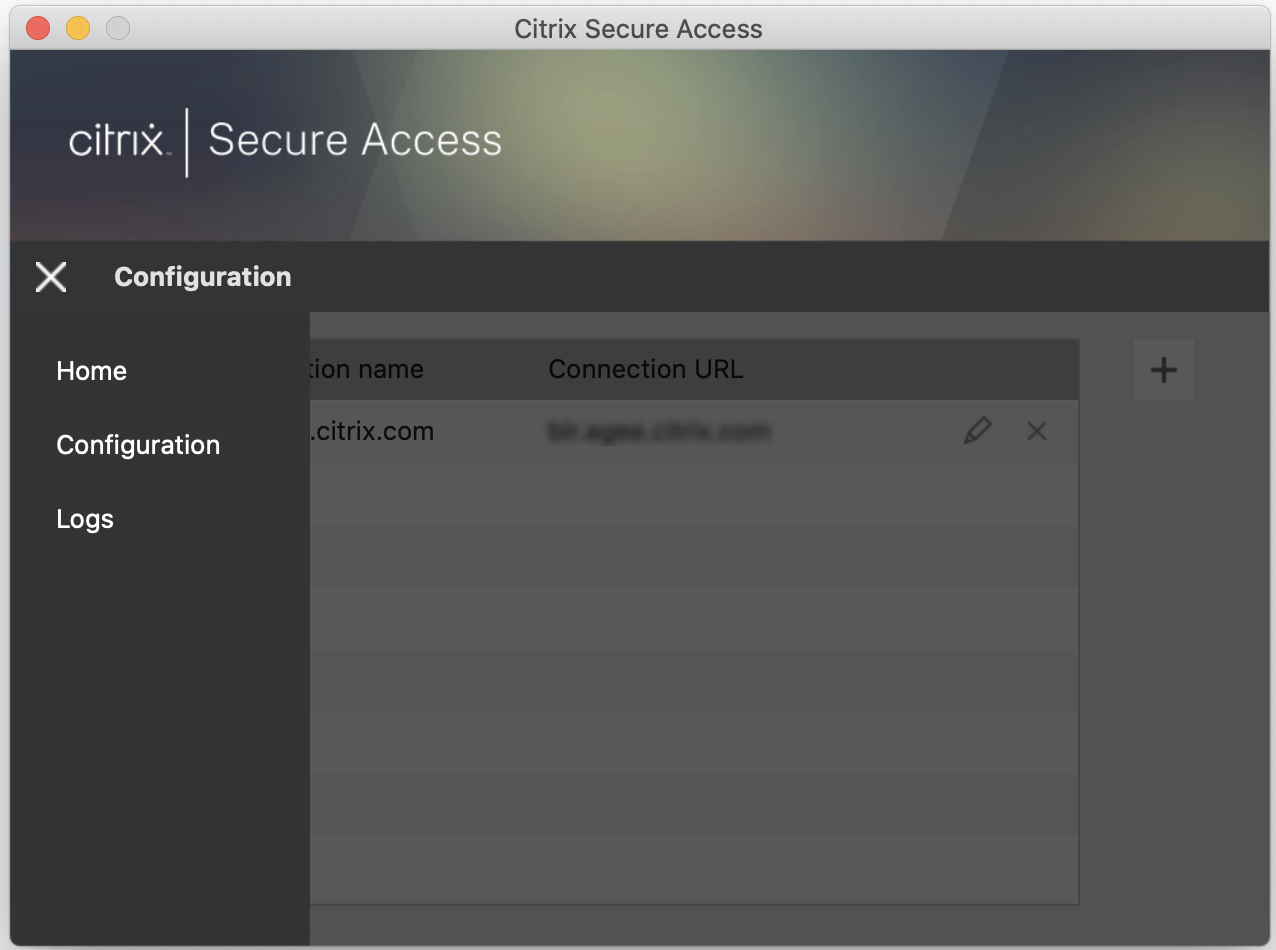
Modify the connection details as required.
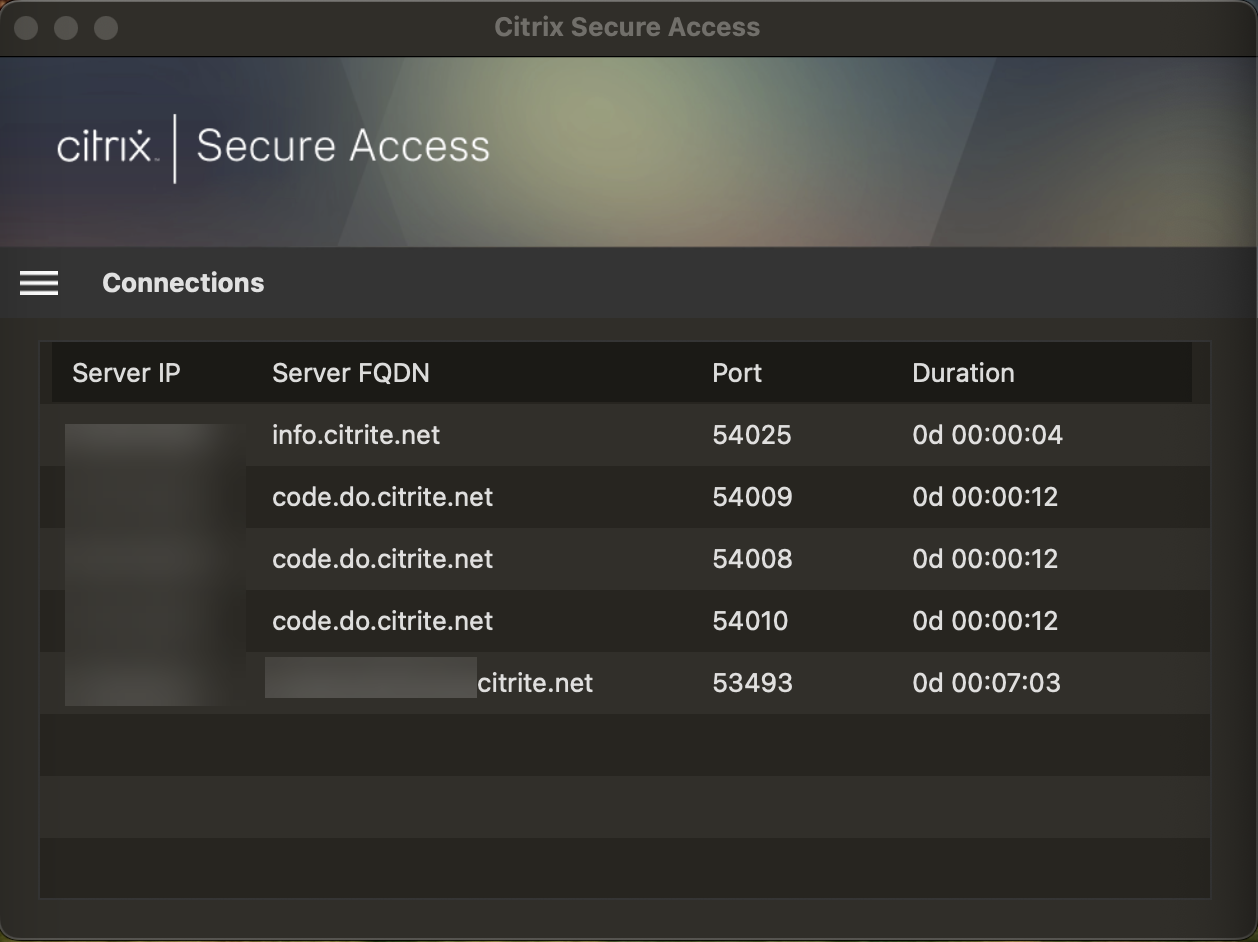
Secured connection insights
Starting from release 23.09.1, you can view the secured connection details that include the IP address, FQDN, destination port, and duration of the connection. To view these details, click the hamburger menu on the UI and navigate to Connections.
Local LAN access
Citrix Secure Access client for macOS 23.10.1 supports the Local LAN access feature wherein you can determine whether you want to access the local LAN resources on your client machine once a VPN connection is established. You can use this feature only if your administrator has configured the local LAN access setting on NetScaler Gateway.
To enable the local LAN access on the Citrix Secure Access client UI, navigate to the home page and enable the Allow Local LAN Access checkbox.
After a connection has been established, you can verify the status of local LAN access on the same page.
Automatic single sign-on to Citrix Secure Access through Citrix Workspace app
Important:
This functionality is disabled, by default. To leverage this functionality, contact your administrator.
Starting from Citrix Secure Access for macOS 24.03.1, a login to Citrix Workspace app can single sign-on (SSO) the end-users to Citrix Secure Access, establish a user tunnel, and seamlessly provide access to TCP/UDP applications. If you are connected to Citrix Workspace app, Citrix Secure Access for macOS can be automatically launched and you can seamlessly log in using single sign-on.
When you log on to Citrix Workspace App, Citrix Secure Access client is automatically launched and you are single signed on to the client. When you log out of Citrix Workspace app, Citrix Secure Access automatically logs you out of the application without your manual intervention. This feature saves time as end-users are expected to log on to just one application, thereby providing a unified experience.
Note:
For this feature to work, the primary URL that is accessed via Citrix Workspace app and Citrix Secure Access client must be the same.
Pre-requisites
-
End-users must be on Citrix Workspace app 2402 or later. For details about installation of Citrix Workspace app for Mac, see Citrix Workspace app for Mac.
-
End-users must be on Citrix Secure Access for macOS 24.03.1 or later.
Points to note:
If end-users are already logged on to Citrix Workspace app prior to using this functionality, they must re-login to Citrix Workspace app so that the app can trigger a single sign on to Citrix Secure Access client.
When a user logs out of Citrix Workspace app due to a timeout, manual user logout, and so on, Citrix Secure Access is also logged out and the user session is disconnected (this is only if Citrix Secure Access was automatically launched via Citrix Workspace app).
SSO login from Citrix Workspace app to Citrix Secure Access is supported only on a single primary domain. SSO on multiple domains is not supported.
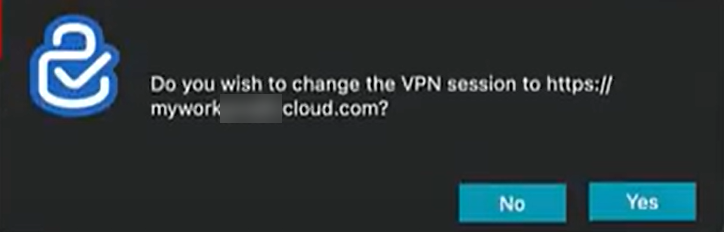
If you switch your Citrix Workspace app connection to a different URL after being single signed on to Citrix Secure Access through this feature, you are prompted to choose your Citrix Workspace app connection URL.
Send logs
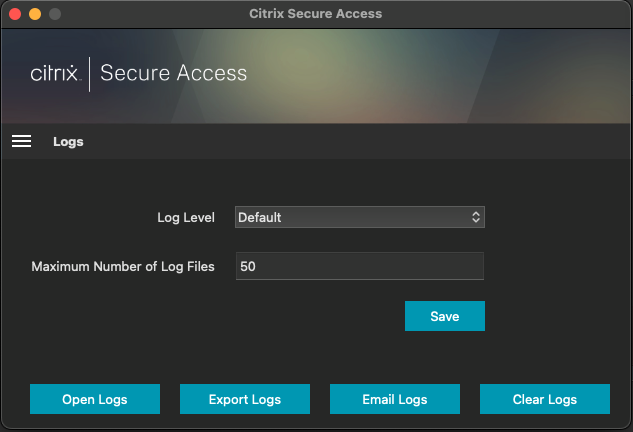
Capturing debug logs is a critical part of troubleshooting or reporting issues to Citrix Support. To troubleshoot the logs, navigate to Home > Logs.
Select one of the following session log levels:
- Default: Prints the minimum logs for basic troubleshooting.
- Debug Messages: Prints all the logs.
- Verbose: Prints the verbose logs including tunnel messages and configuration information.
Starting from release 23.07.1, you can use the Maximum Number of Log Files field to specify the number of files that you want to add for log collection. You can add up to 50 log files.
- Click Open Logs to view logs.
- Click Export Logs to export the logs to your local directory.
- Click Email Logs to send the logs over email.
-
Click Clear Logs to delete older logs.
Note:
Starting from Citrix Secure Access for macOS release 23.07.1, the Email Logs option is available on the Logs page.
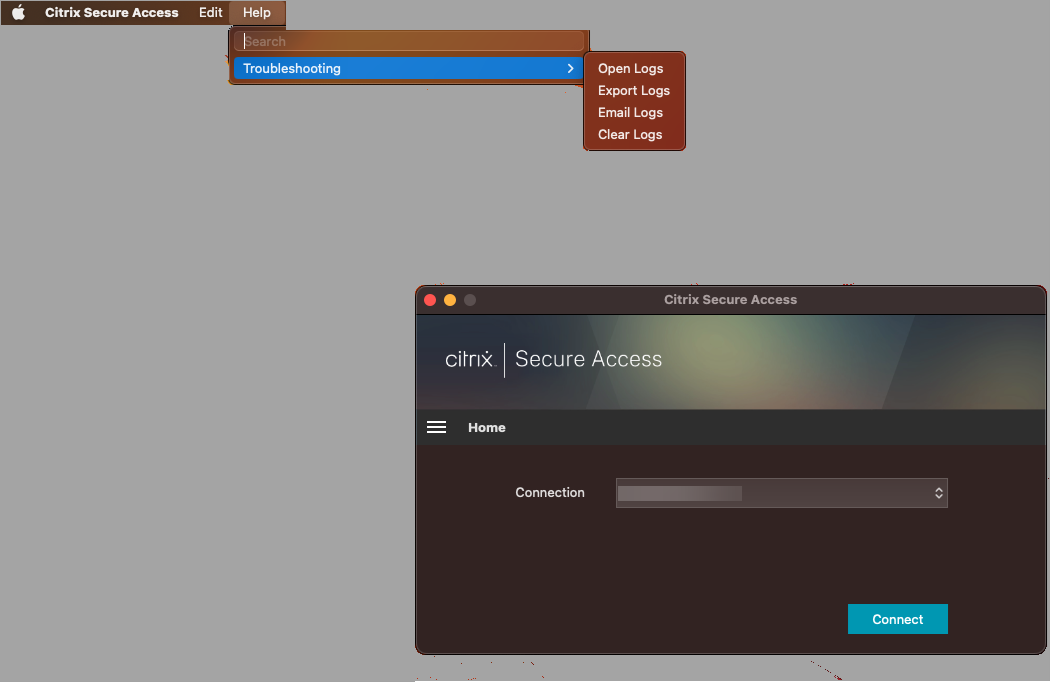
Starting from Citrix Secure Access for macOS 23.06.1, a Help menu is introduced on the navigation bar of the Citrix Secure Access client. This menu can be used as an alternate location to capture and send the debug logs.
Reference
For administrator-specific instructions on Citrix SSO for iOS, see Citrix SSO for iOS and Citrix Secure Access for macOS.