Create a template
Follow these steps to create a template:
- From the Citrix RightSignature dashboard, select Templates in the left menu bar, then select Create Template.
- Select Upload A File to open the document you want to build a template with.
- If replacing the underlying source file used to create the template, select the red x. Afterwards, select the new source file of the template.
- Select Prepare Document to continue editing.
-
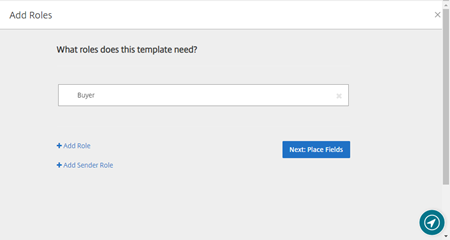
First, edit the roles on the template - change the role names, edit the order, or add/delete roles.
-
Select Next: Place Fields to create the signer and annotation fields for the template.
-
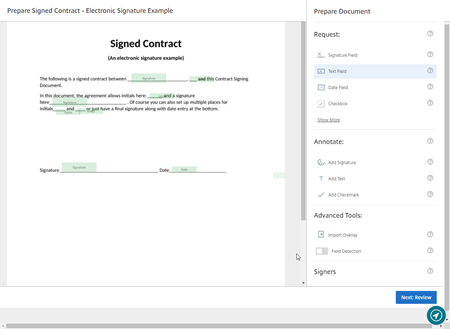
Next use the document overlay options to add, change, and remove various types of fields. When finished with edits to the document, click Next: Review.
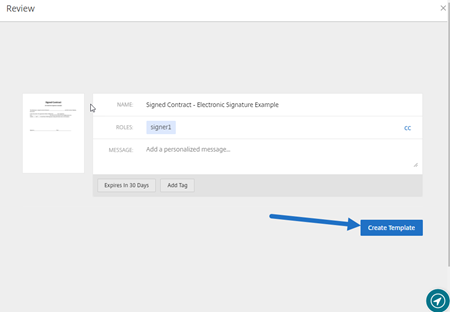
- When you are finished editing, select Create Template.
Create a template
In this article
Copied!
Failed!